by SarisonZero
Force Commander is a co-op mercenary simulator where a group of players must work together to accomplish objectives and defeat enemies controlled by a game master. This map editor is a tool designed for game masters to make the scenario map to be used in a game. Anyone is welcome to play around with it, but that is the purpose of the tool.
There are two layouts for the Map Editor:
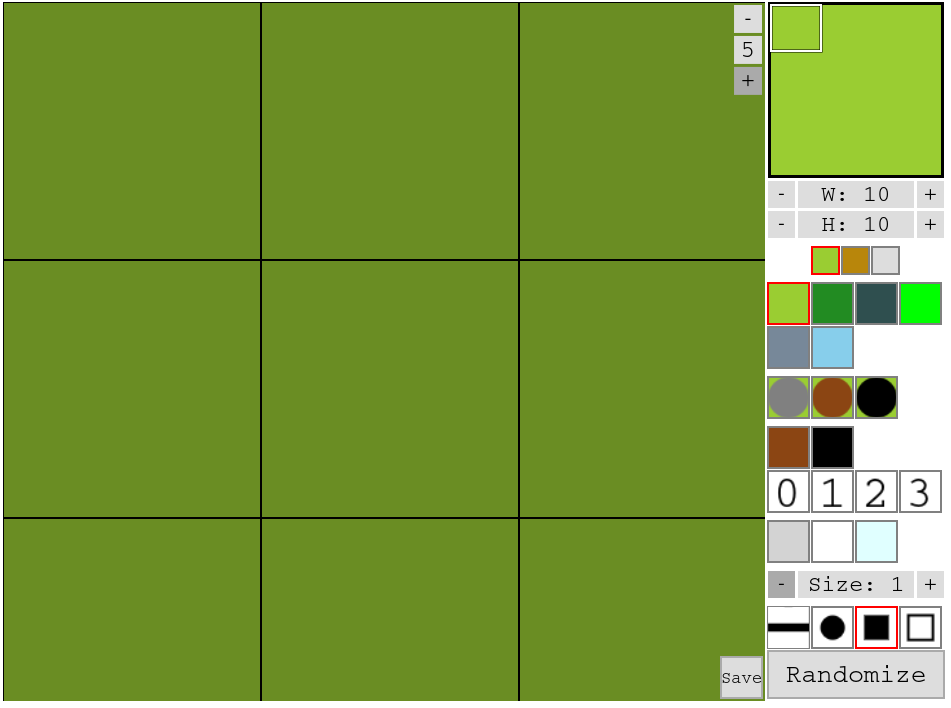
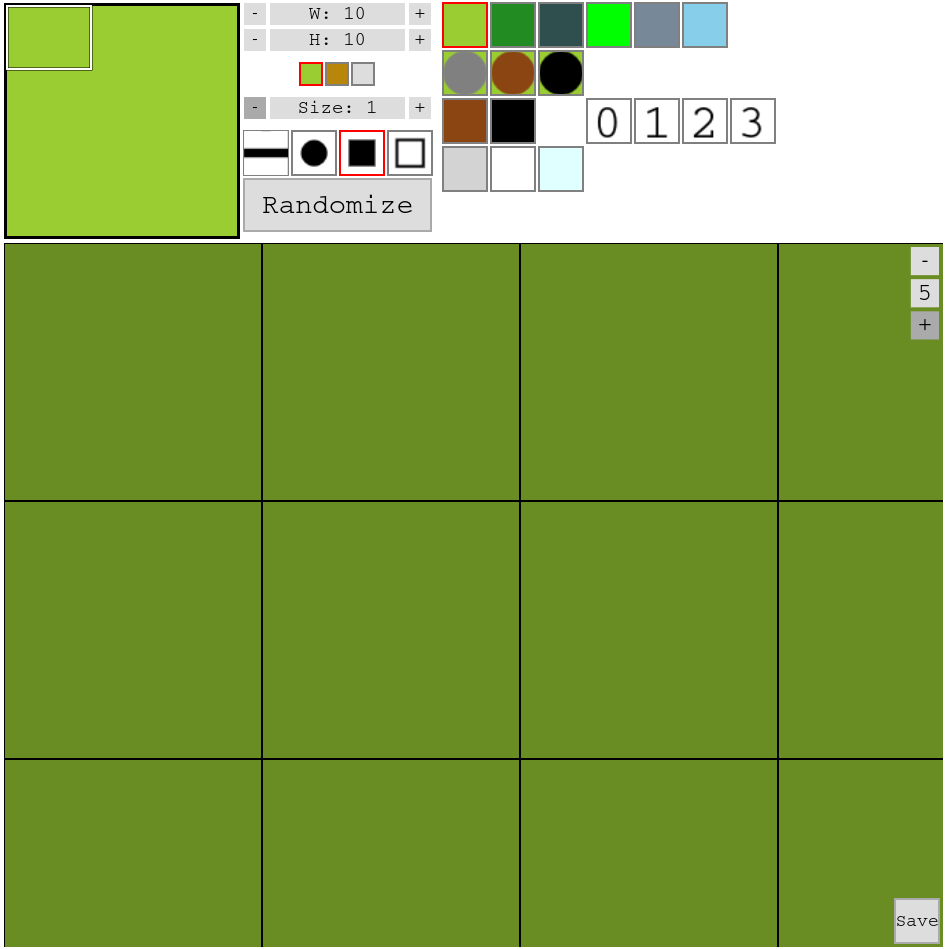
There are three main elements to the map editor: The Editing Window, also known as the Main Map, the Navigation Window, also known as the Mini Map, and the Palette.
The editing window has three features that you should be aware of: The zoom control, the save button, and the window itself.
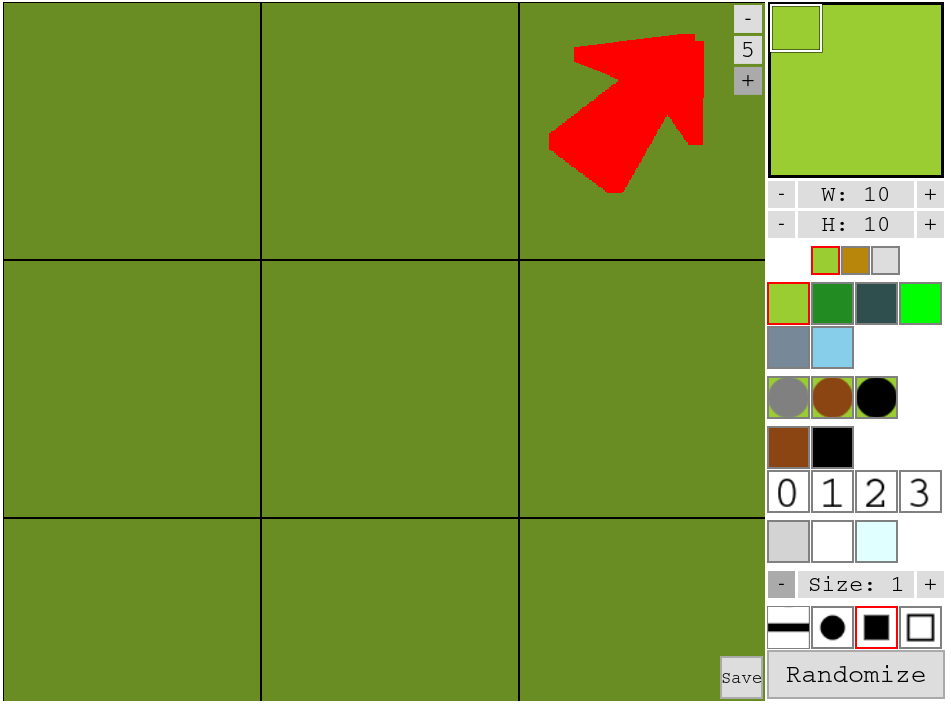
The zoom control allows you to zoom in and out. The higher the number, the more zoomed in you are. The numbers range from 0 to 5. Click on the plus (+) and minus (-) buttons to zoom in and out, respectively.
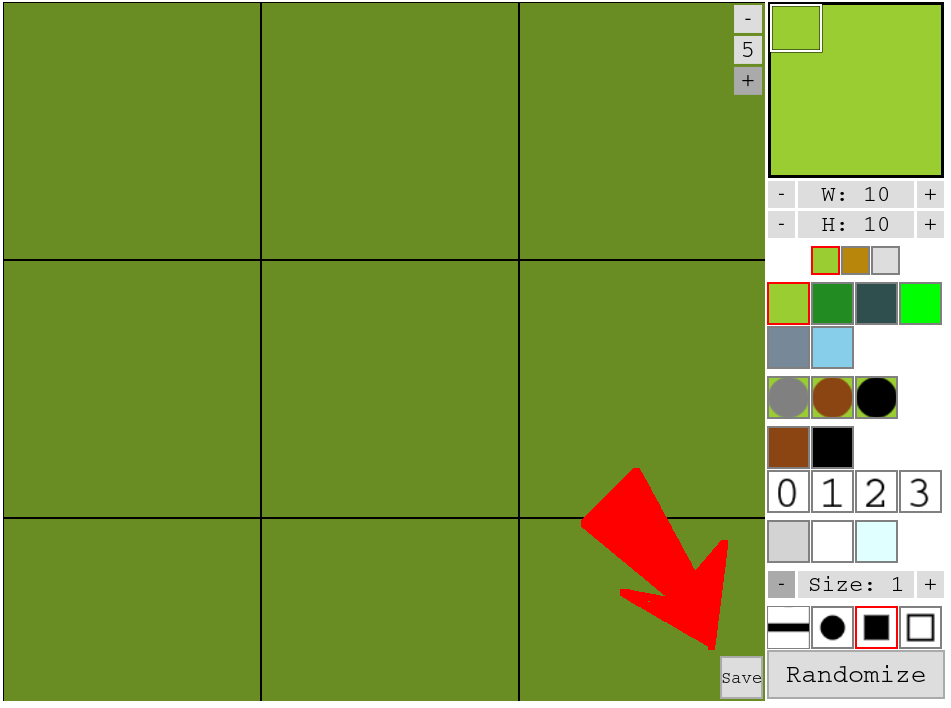
The save button is used to export the data backing the map. If you are using this tool to make a Force Commander Map, you can copy the data from the console into another file to use it. If you are using this for any other purpose, this button may not perform as you expect. It will only export data to the console, it will not save the data in any other way.
There is no feature to load a saved map at this time.
The rest of the Editing Window is used to display and edit the map. You can click on tiles in this window and use the other editing tools to make changes to the map.
The Navigation Window is used to move around the map. Click on an area of the Navigation Window to move the Editing Window to that part of the map.
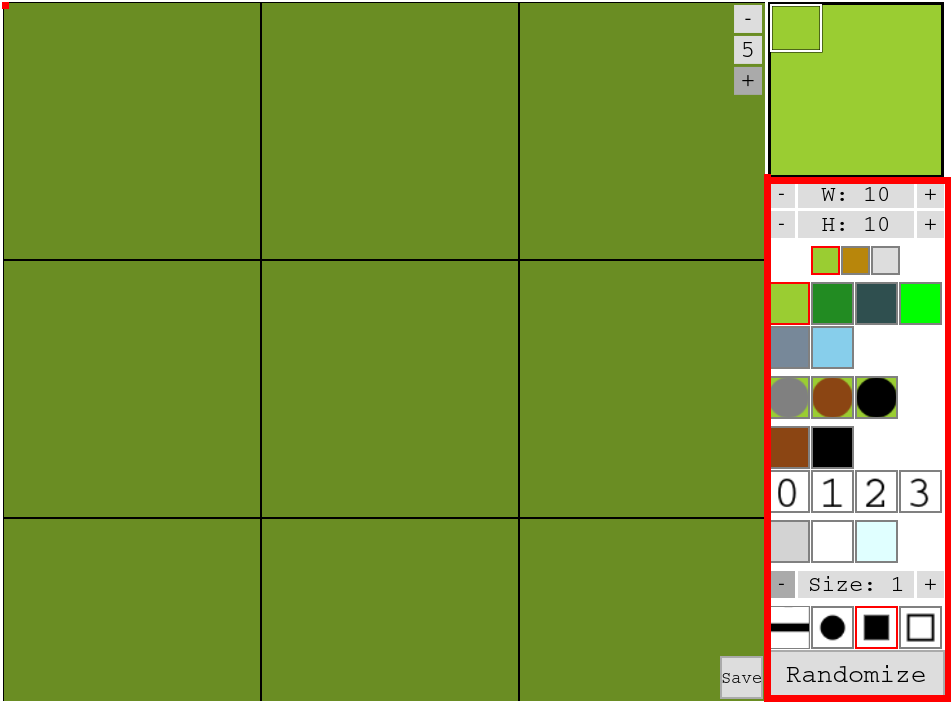
The Palette is the section of the editor with all of the buttons. Different buttons allow you to change things about the map, change the brush that you are going to use in the Editing Window, or generate a random map.
There are two basic properties of the map beyond the tiles in it. Those properties are the Size, made of by the Width and the Height, and the Base Terrain Type.
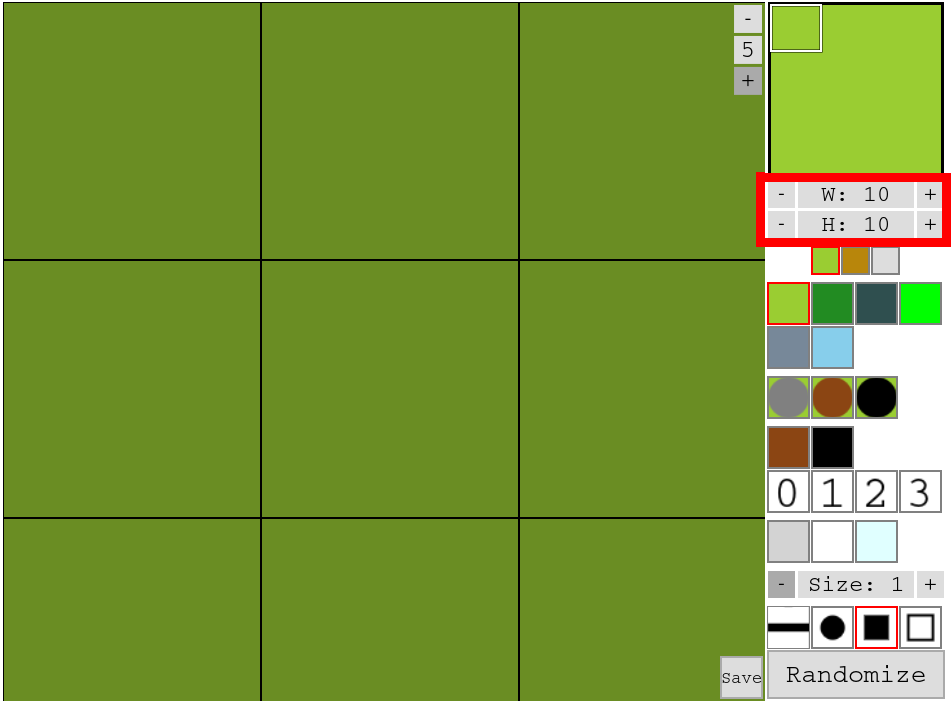
The Size of the map ranges from 1 to 100 in each dimension. You can click on the plus (+) and minus (-) buttons for each dimension to increase or decrease that dimension respectively. If you hold down the Control key while you do that, the number will adjust by 10 instead of 1. Map details are erased when the map is reduced to a size that cannot contain them.
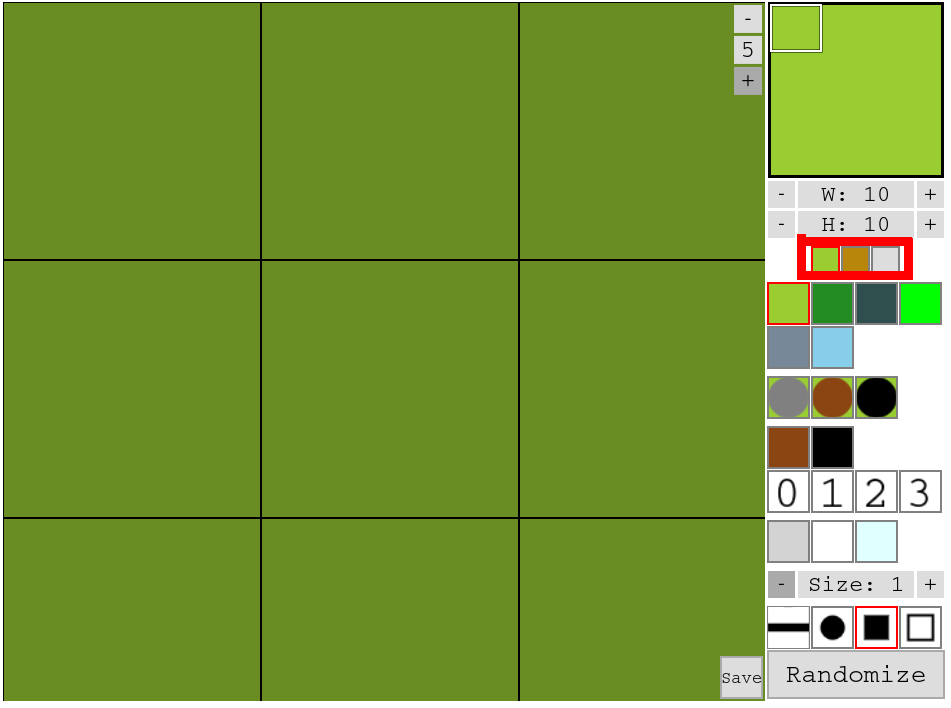
The Base Terrain Type can be changed by clicking on the buttons for the desired terrain type. There are three at this time: temperate, desert, and tundra.
There are several different types of terrain that can be added to the map. Click on the button for the terrain that you would like to add, then click on the map in the area where you would like to add the terrain to add that terrain to the map.
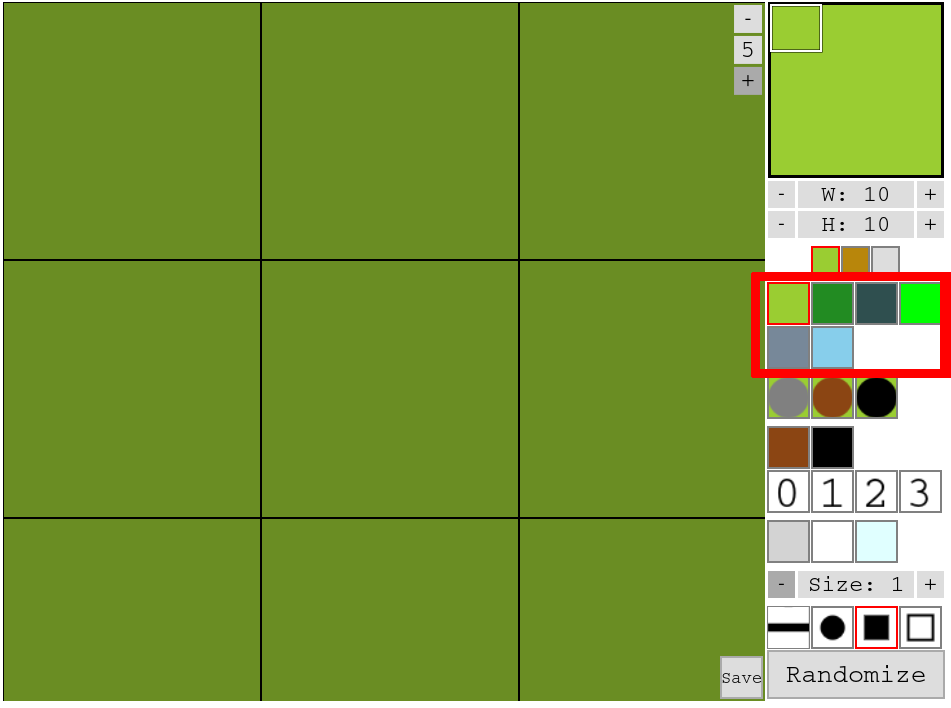
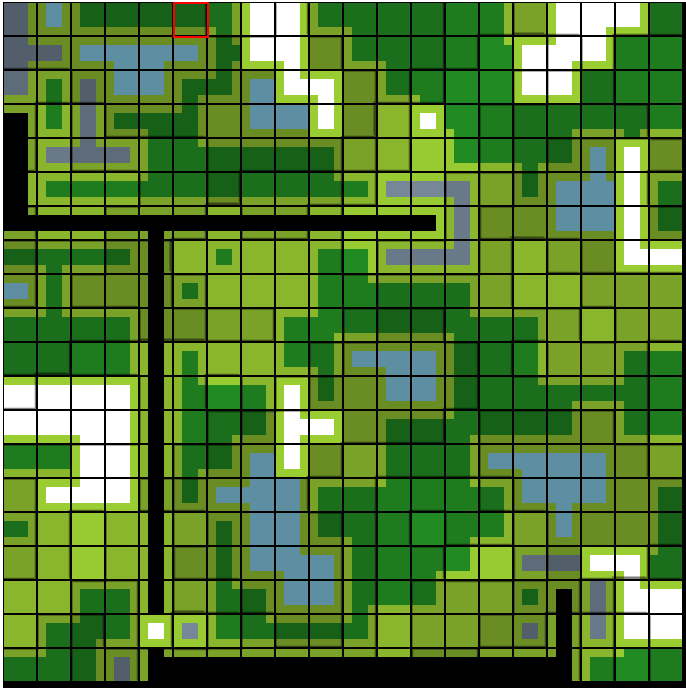
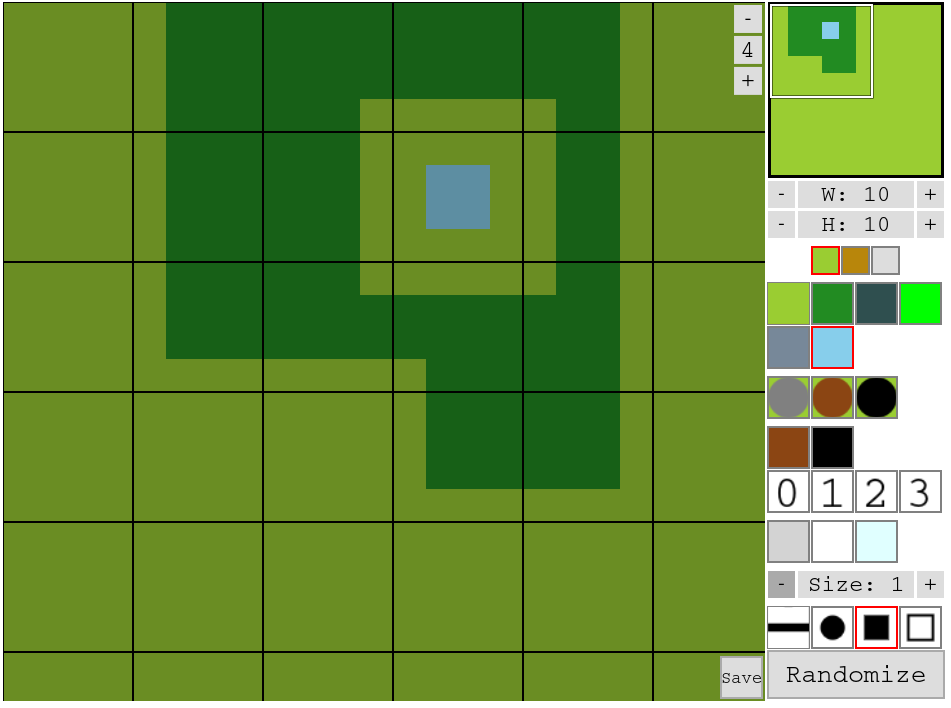
There are six types of tileable terrain at this time: Open, Forest, Ruins, Jungle, City, and Water. Tileable terrain is different from other types of terrain because it changes its appearance based on its neighbors. When you add Tileable Terrain to the map, it may change the display of other tiles around the tile that you changed.
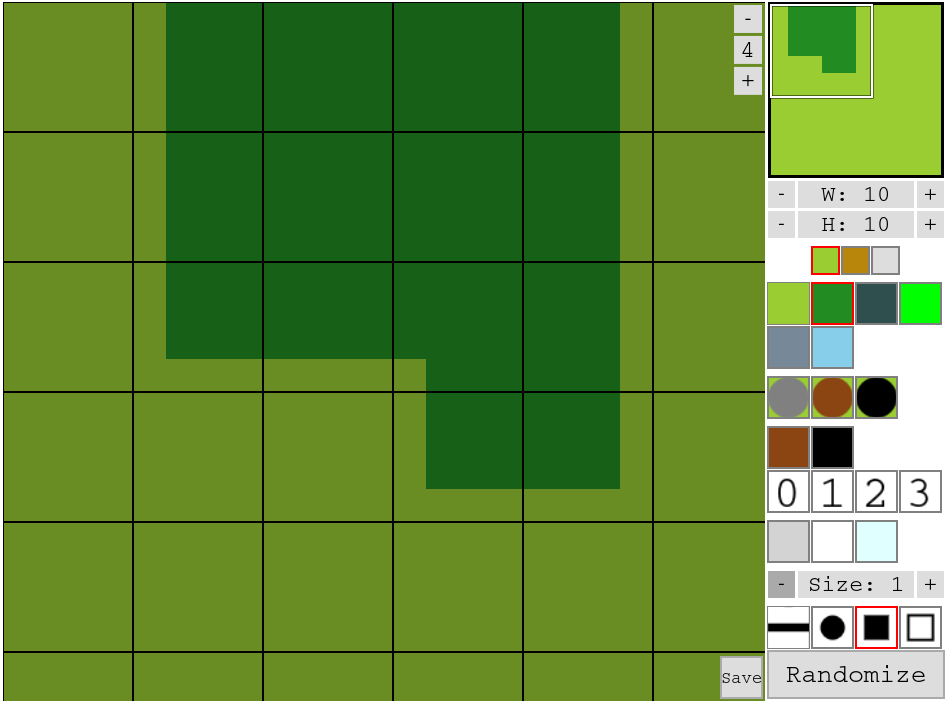
In the above image, the tiles containing forest are different depending on whether their neighbors contain forest or not. In the below image, water is added to the forest, and even though it was only added to one tile, the tiles around that have changed based on that edit.
There are three types of single tiles: Rocks, Craters, and Vehicle Fighting Positions. These will not changed based on the terrain around them (but tileable terrain around them may change because of their presense or absense).

There are two types of Linear Tiles: Trenches and Roads. Linear tiles will change based on their neighbors, but they are separated into a different group to show that they are intended to be used in long straight lines. You are welcome to use them as you like, though that is the intention.
There are 4 elevations for terrain on the map: 0, 1, 2, and 3. Any tile can be placed at any elevation. Higher elevations will cast shadows on lower elevations.
There are two types of atmospheric tiles: Smoke and Fog. The third button is to clear atmophere; it will remove Smoke or Fog from a tile without changing the underlying terrain. Fog is tileable, in that it will change appearance based on its neighbors, while Smoke will not.
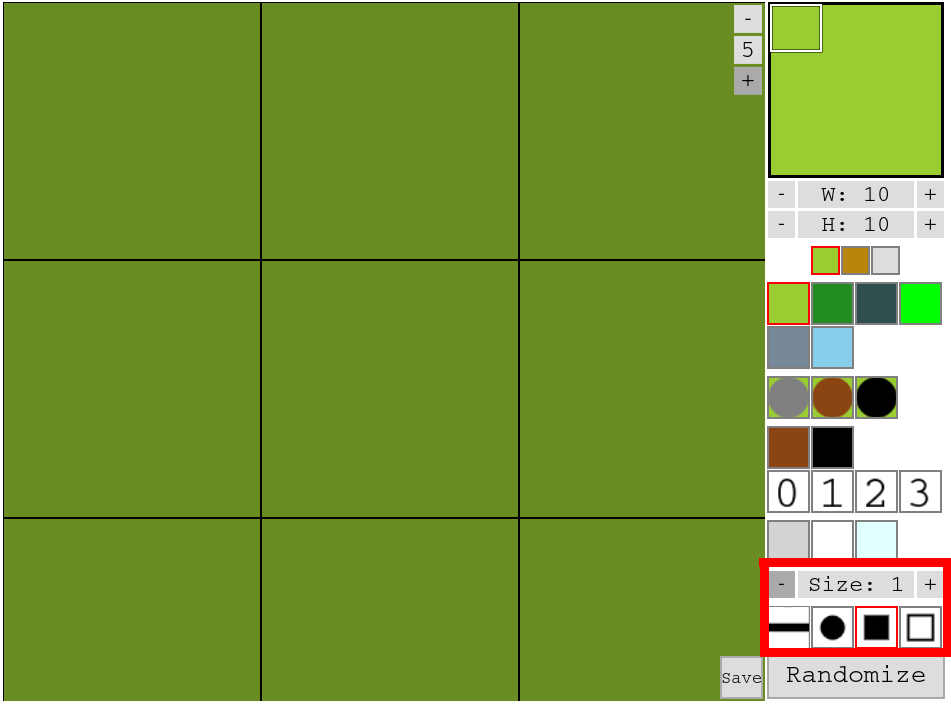
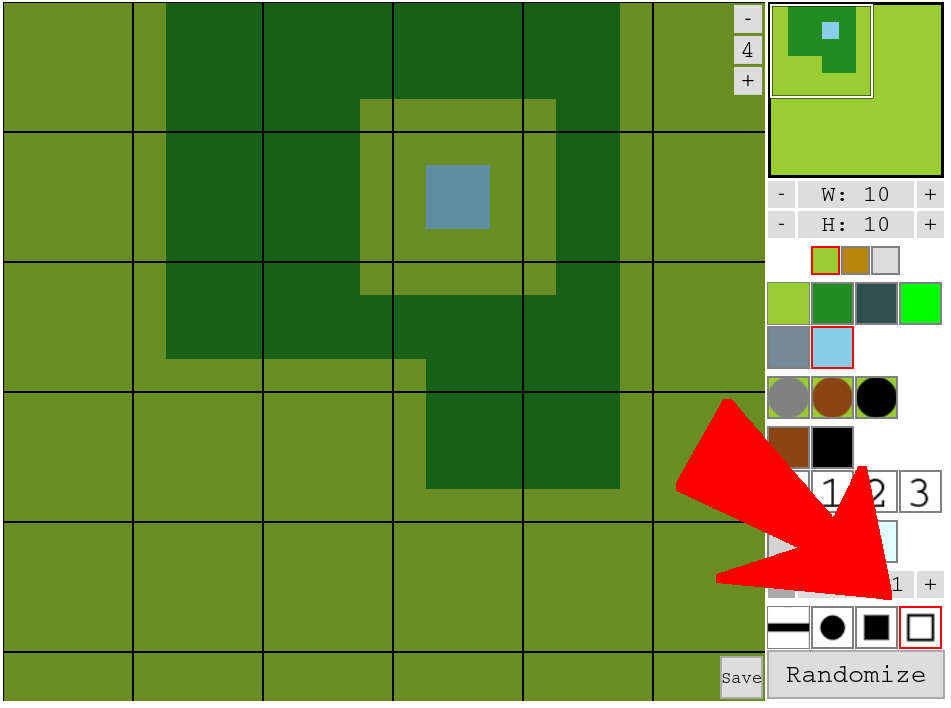
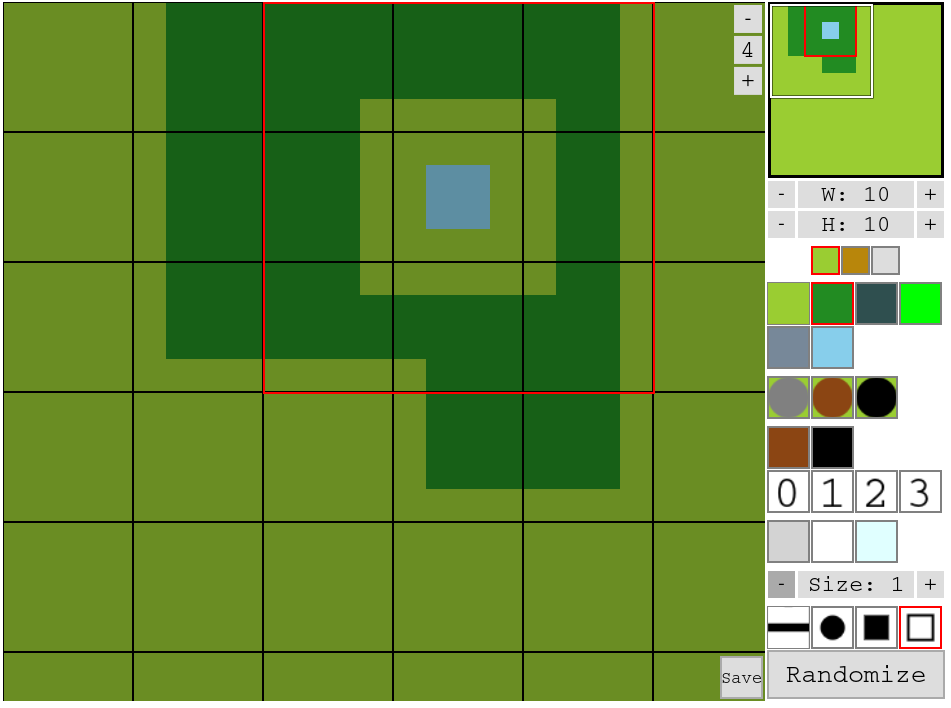
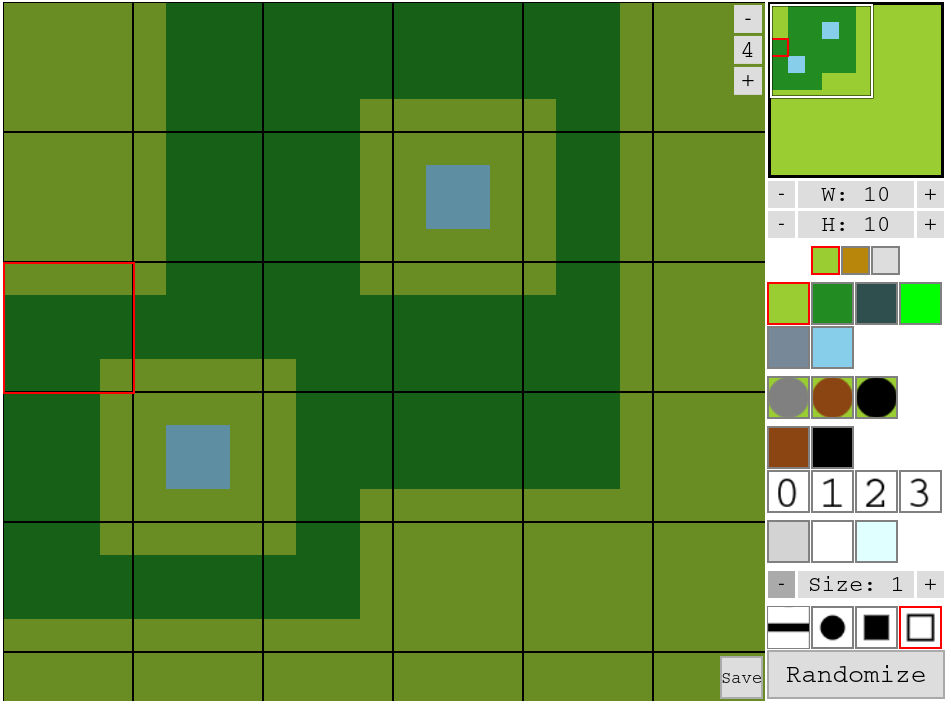
There are three types of brushes that can be used to draw on the map: Squares, Circles, and Lines. When drawing on the map with a Sqaure Brush, everything in a square around the location clicked will be painted based on the selected terrain type. When painting with a Circle, the same is true, but only those tiles in a circle shape will be painted. When painting in a tile, every tile in a line will be painted. Click on the Line brush button multiple times to change the direction of the line. Click on the plus (+) and minus (-) buttons next to the size indicator to change the size of the brush, and number of tiles that will be changed.
The Copy/Paste box can used to copy and paste tiles from one place to another. Click on the Copy/Paste button to select it, click and drag on the main map to select a region, use Control + C on your keyboard to copy the region. Click on another region to select the area you want to paste. Press Control + V on your keyboard to paste the copied region into the newly selected area.
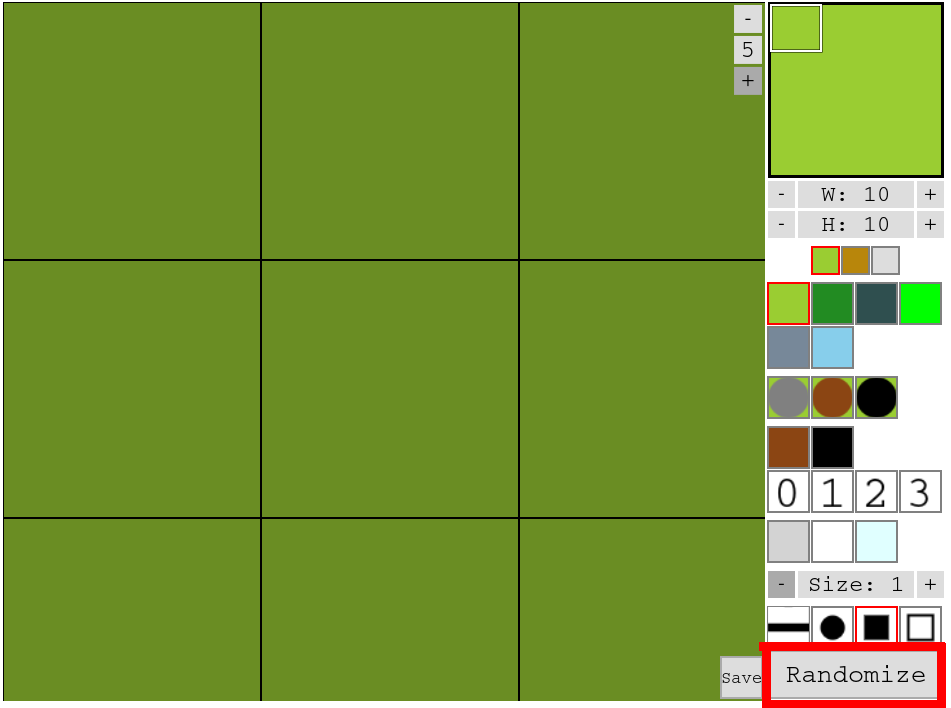
The Randomize button will create a random map. It will randomly pick a Base Terrain type, draw either Woods or Jungle, draw groups of Buildings, and try to connect those groups with Roads. It will also adjust the elevation, filling in the lowest levels with Water, and add in Rocks and areas of Fog.
When the Randomizer is done, it will display the Random Seed used to generate this map. If you would like to display the same map again, you can add the URL Parameter "?seed=" and the seed to your URL. Otherwise, if you click on the Randomize button again, it will use a different seed to generate a different map.